
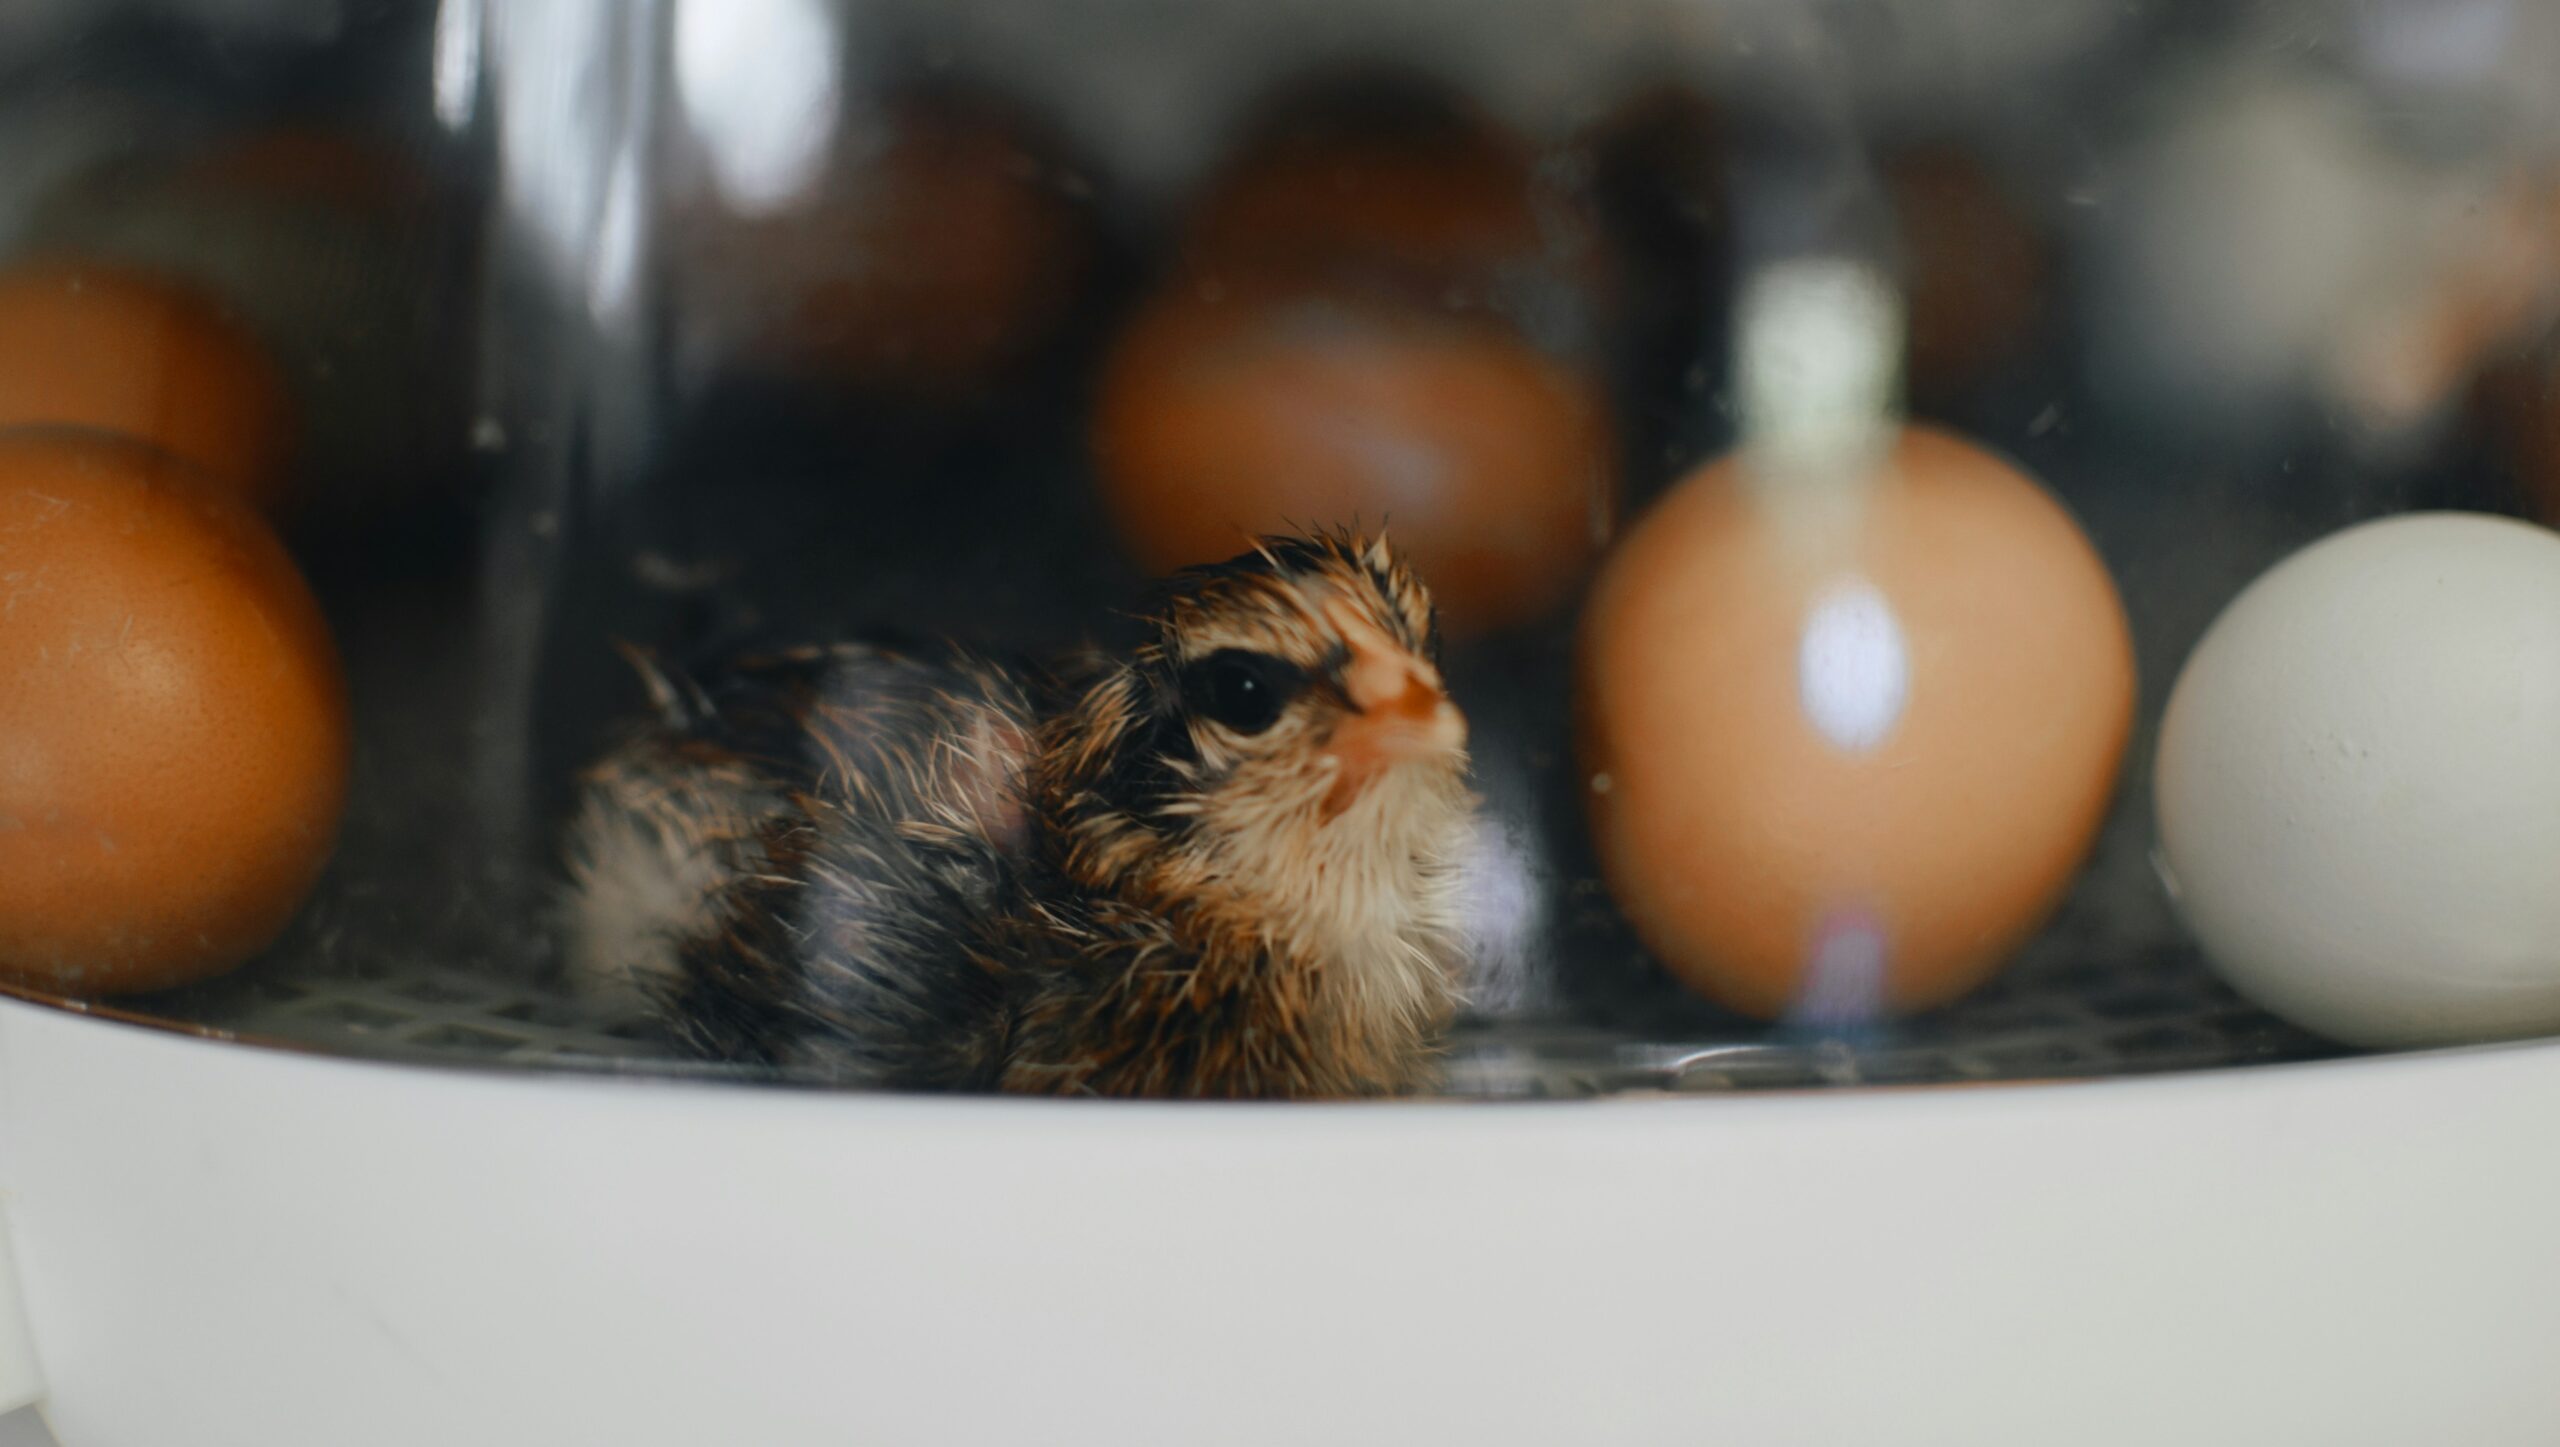
Hatching your own eggs is one of the more satisfying things you can do with backyard chickens. Watching a chick work its way out of a shell is genuinely something. And once you do it once, you usually want to do it again.
The challenge is that incubators range from $50 countertop units to commercial cabinets that cost thousands. Choosing the wrong size or feature set means either outgrowing the machine quickly or paying for capacity you will never use.
This guide breaks the decision down by flock size and use case and covers specific models from Brinsea and Hatching Time, two of the most consistently recommended brands in this category.
What to Understand Before You Buy
Setter vs. Hatcher vs. Combined
These terms matter when shopping and are worth understanding before you look at a single product listing.
Setter: Holds and turns eggs during the incubation period: 18 days for chickens, 24 for ducks, 17 for quail. Maintains temperature and humidity at the levels required for embryo development.
Hatcher: Handles the final days before hatch, when eggs need higher humidity and turning stops. Eggs transfer from the setter to the hatcher on lockdown day (typically 3 days before hatch for chickens).
Combined (setter and hatcher): Does both in one unit. The turner is removed or stopped at lockdown and humidity is raised for the final days. Most entry-level and mid-range incubators are combined units.
Separate setter and hatcher setups allow continuous hatching. You can load the setter with new eggs while chicks are hatching in a separate unit. This matters at higher volumes where batch hatching on a rolling schedule is the goal.
Still Air vs. Forced Air
A still air incubator relies on natural convection to distribute heat. A forced air incubator has a fan that circulates air throughout the cabinet, creating a more uniform temperature across all eggs.
Forced air is worth the modest premium. Temperature variance in a still air incubator means eggs near the heat source develop differently from eggs at the edges. Even a one-degree difference sustained over 21 days affects hatch rates and chick quality. Most quality incubators at any reasonable price point are forced air.
If your incubator is still air, the recommended incubation temperature is higher at 101 to 102 degrees Fahrenheit rather than the standard 99.5 degrees for forced air models. This accounts for the temperature gradient from heat source to egg surface.
Automatic vs. Manual Egg Turning
Eggs in a natural nest are turned by the hen multiple times per day. In an incubator, this needs to happen at least three times daily to prevent the embryo from adhering to the shell membrane, which causes developmental failure.
Manual turning requires you to turn every egg by hand, mark them to track which side is up, and do this consistently every 8 hours without missing a session. Missing multiple turning sessions affects hatch rates.
Automatic turning is worth having on any incubator you plan to use seriously. It eliminates the most labor-intensive and error-prone part of the process.
Temperature and Humidity Accuracy
Cheap incubators frequently have poorly calibrated thermostats that run hot or cold. A unit that claims to hold 99.5 degrees but runs at 101 degrees will reduce your hatch rate and produce chicks with health problems.
Independent verification with a calibrated probe thermometer placed at egg height is recommended for any incubator before setting fertile eggs. Most quality brands include temperature alarms that alert you to deviations outside a set range.
Humidity management is the hardest variable to get right consistently. Most incubators require manual water additions to maintain humidity, which works but requires attention. Higher-end models include automatic humidity control systems that handle this without manual intervention.
Recommended Incubators
Best for Beginners and Small Flocks: Brinsea Mini II Advance
The Brinsea Mini II Advance is the most consistently recommended entry-level incubator by experienced poultry keepers. It holds 7 standard chicken eggs, uses forced air circulation for even temperature distribution, includes automatic egg turning with auto-stop 2 days before hatch, and has a digital countdown to hatch date. Temperature and high-low alarms are included.
Brinsea is a British company that has been building incubators since 1976 with a US facility in Florida. Their products carry a 3-year warranty and are built to a higher standard than the wave of inexpensive Chinese-manufactured incubators that dominate Amazon search results.
At 7 eggs the Mini II Advance is not suitable for large hatching operations, but it is the right machine for a backyard keeper who wants to hatch a replacement batch of chicks once or twice a year. Buyers consistently report reliable hatch rates and minimal troubleshooting compared to budget alternatives in the same price range.
Humidity is managed manually by adding water to internal reservoirs through an external top-up port. For fully automatic humidity control, Brinsea’s Mini II EX is the step up, more expensive, but eliminates the need to open the incubator during the hatch.
Brinsea Mini II Advance Egg Incubator, 7 eggs, forced air, automatic turning, 3-year warranty
Best Mid-Range Combined Unit: Hatching Time CT60 SH
The Hatching Time CT60 SH is a 60-egg combined setter and hatcher cabinet built by Cimuka, a manufacturer with an established track record in commercial poultry operations. It includes automatic egg turning, automatic humidity control via the Humisonic system, forced air circulation, a digital control panel with temperature and humidity display, and Active Periodic Cooling (APC) technology that mimics the natural cooling process a hen provides when she briefly leaves the nest.
The APC feature is worth noting for anyone who has struggled with hatch rates in simpler incubators. Natural egg incubation includes brief daily cooling periods. The CT60 replicates this with sensor-controlled cooling cycles, which Hatching Time reports supports healthier embryo development and stronger chicks at hatch.
Both front and back doors allow easy cleaning and maintenance, which matters after every hatch when the cabinet needs a thorough clean before the next set.
The CT60 SH is a combined unit. It sets and hatches in the same cabinet. It is the right machine for a homesteader or small farm operation running one or two hatches per month with a small to mid-sized flock.
Hatching Time CT60 SH, 60 Egg Incubator and Hatcher, automatic turning, Humisonic humidity system
Hatching Time products occasionally go on backorder. Check the product page for current availability before ordering.
Best for Serious Small Farm Operations: Hatching Time CT120 SH
The CT120 SH scales up the CT60 to 120 chicken eggs in the same cabinet format. Same core feature set: automatic turning, Humisonic humidity control, forced air, APC technology, digital controls, at double the capacity.
For a small farm running a continuous flock replacement schedule or producing hatching eggs for sale, the CT120 is the practical choice over the CT60. The incremental cost difference between 60 and 120 eggs per cycle is modest relative to the doubled output.
Like the CT60, the CT120 is a combined setter and hatcher. For operations running volume that justifies separate setter and hatcher units on a rolling schedule, Hatching Time’s HB series (covered below) is the appropriate step up.
Hatching Time CT120 SH, 120 Egg Incubator and Hatcher, automatic turning, Humisonic humidity system
Best for High-Volume Operations: Hatching Time HB350S
The HB350S is a 350-chicken-egg cabinet setter designed for hatcheries, serious small poultry operations, and farms running continuous hatching schedules. It is a setter only. A separate hatcher is purchased and used in combination, which allows continuous production where new eggs are loaded into the setter while a previous batch finishes in the hatcher.
The HB350S features a patented energy-efficient design, 10 adjustable egg setter trays that accommodate everything from quail to goose eggs, dual temperature and humidity alarms with room sensors, and an anodized aluminum frame that turns 45 degrees in each direction over the course of an hour, a slow, gentle turning motion that protects the eggs while ensuring thorough rotation.
At this scale, the investment is significant and the decision warrants direct consultation with Hatching Time’s team to match the right configuration to your specific operation and egg volume.
Hatching Time HB350S, 350 Egg Cabinet Setter, adjustable trays, dual alarm system
Incubation Basics Worth Knowing
Temperature for forced air incubators: 99.5 degrees Fahrenheit throughout the incubation period, dropping to 98.6 degrees at lockdown according to most extension guidelines. Follow your incubator’s specific manual. These are general figures and models vary.
Humidity during incubation: 45 to 55 percent relative humidity during incubation, raised to 65 to 75 percent at lockdown for chickens. Quail, duck, and other species have different requirements. Verify against species-specific incubation guides.
Lockdown: Begins on day 18 of the 21-day chicken incubation period. Stop turning, raise humidity to 65 to 75 percent, and do not open the incubator until chicks have hatched. The membrane around the chick dries and weakens during this period and opening the incubator can cause it to stick to the shell, making hatch impossible.
Candling: Shining a bright light through the egg to check development. Usually done at day 7 and day 14 for chickens. Infertile and early-death eggs are removed to prevent them from degrading and contaminating the incubator.
Sanitation: Clean and disinfect the incubator thoroughly between every hatch. Shell debris, fluff, and moisture left behind from a previous hatch create conditions for bacterial growth that affect the next set.
Get To Hatching
Set your incubator up and run it for 24 hours before loading fertile eggs. Verify that temperature and humidity are stable and within range using an independent thermometer placed at egg height. Do not assume factory calibration is accurate. Confirming before your eggs go in costs nothing and prevents an avoidable loss.
For more on getting your first flock started from day one, see our Getting Started with Backyard Chickens guide.
Links may be added or updated over time. They do not affect how products are selected or discussed.
Affiliate Disclosure This article may contain affiliate links. If you buy through one of those links, Working Acre may earn a small commission at no extra cost to you. Product mentions are based on usefulness, fit, and relevance to the topic.